
Turning the Ikea Rast 3-Drawer Chest into a Cane Masterpiece
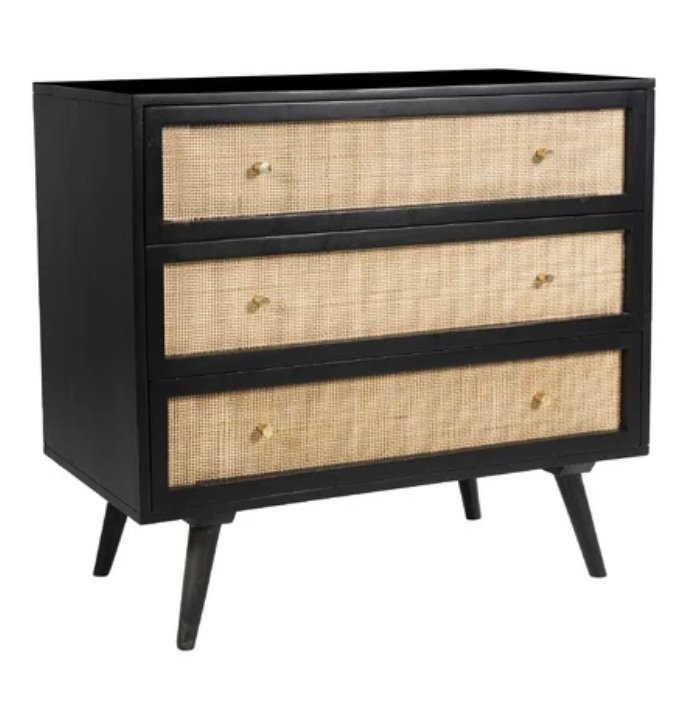
Everyone loves a good Ikea hack, and this one will blow you away. Cane furniture is all the rage these days, however that stuff is not cheap! I found this cabinet online and was appalled by how expensive it was… almost $800 for a small 3 drawer chest!! So I decided to create it myself! It honestly was pretty easy and I personally think it came out better than the inspo.
Supplies:
Ikea RAST 3-drawer chest – I bought mine for cheaper off Facebook Marketplace
Paint color of your choice
Cane (Franks Cane and Rush) – I bought 24 inch x 24 inch of fine radio weave cane
Electric screwdriver or regular screwdriver
16 feet of ¼ inch pine wood trim - you can use as wide of a trim as you’d like to get the look you want
MDF board to build out base of RAST drawer (optional if you would like yours to have legs)
MCM legs (optional)
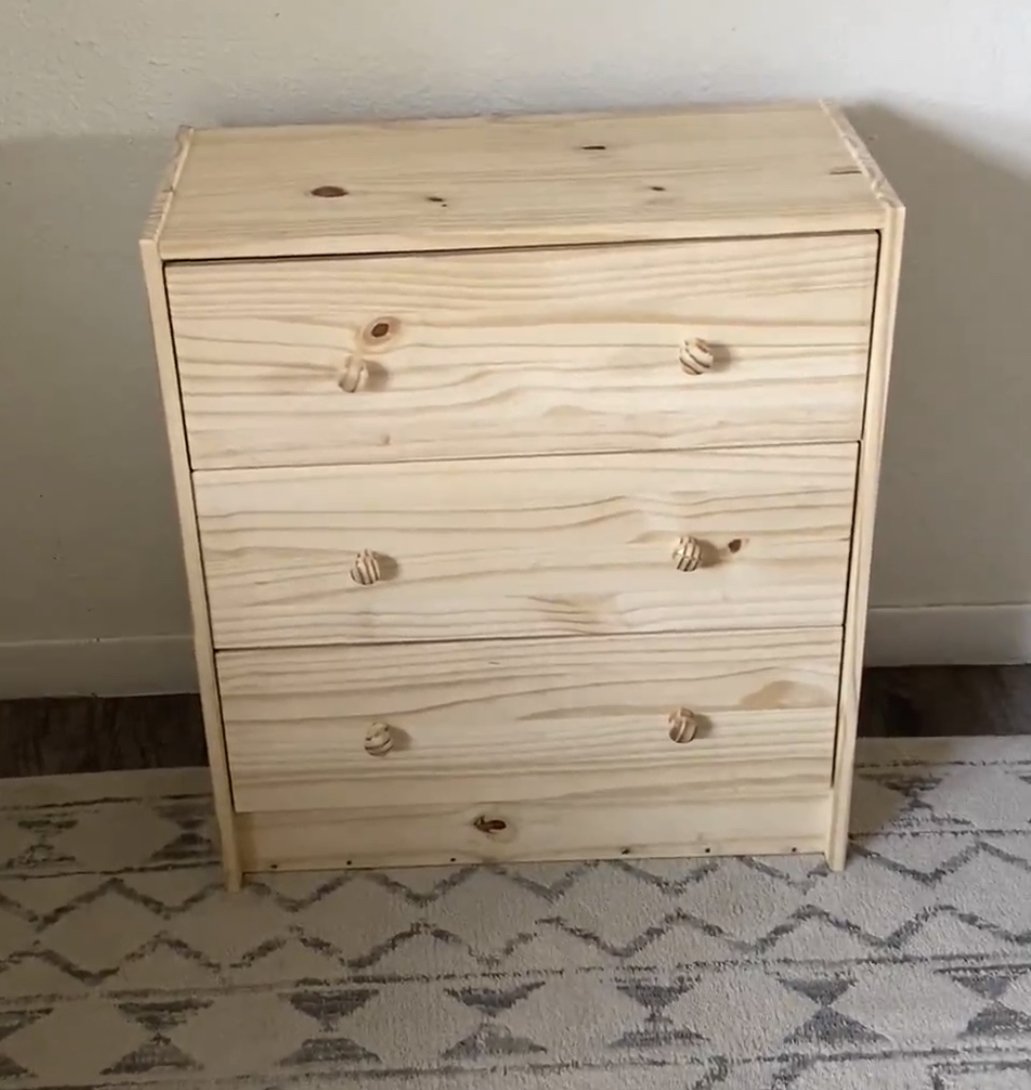
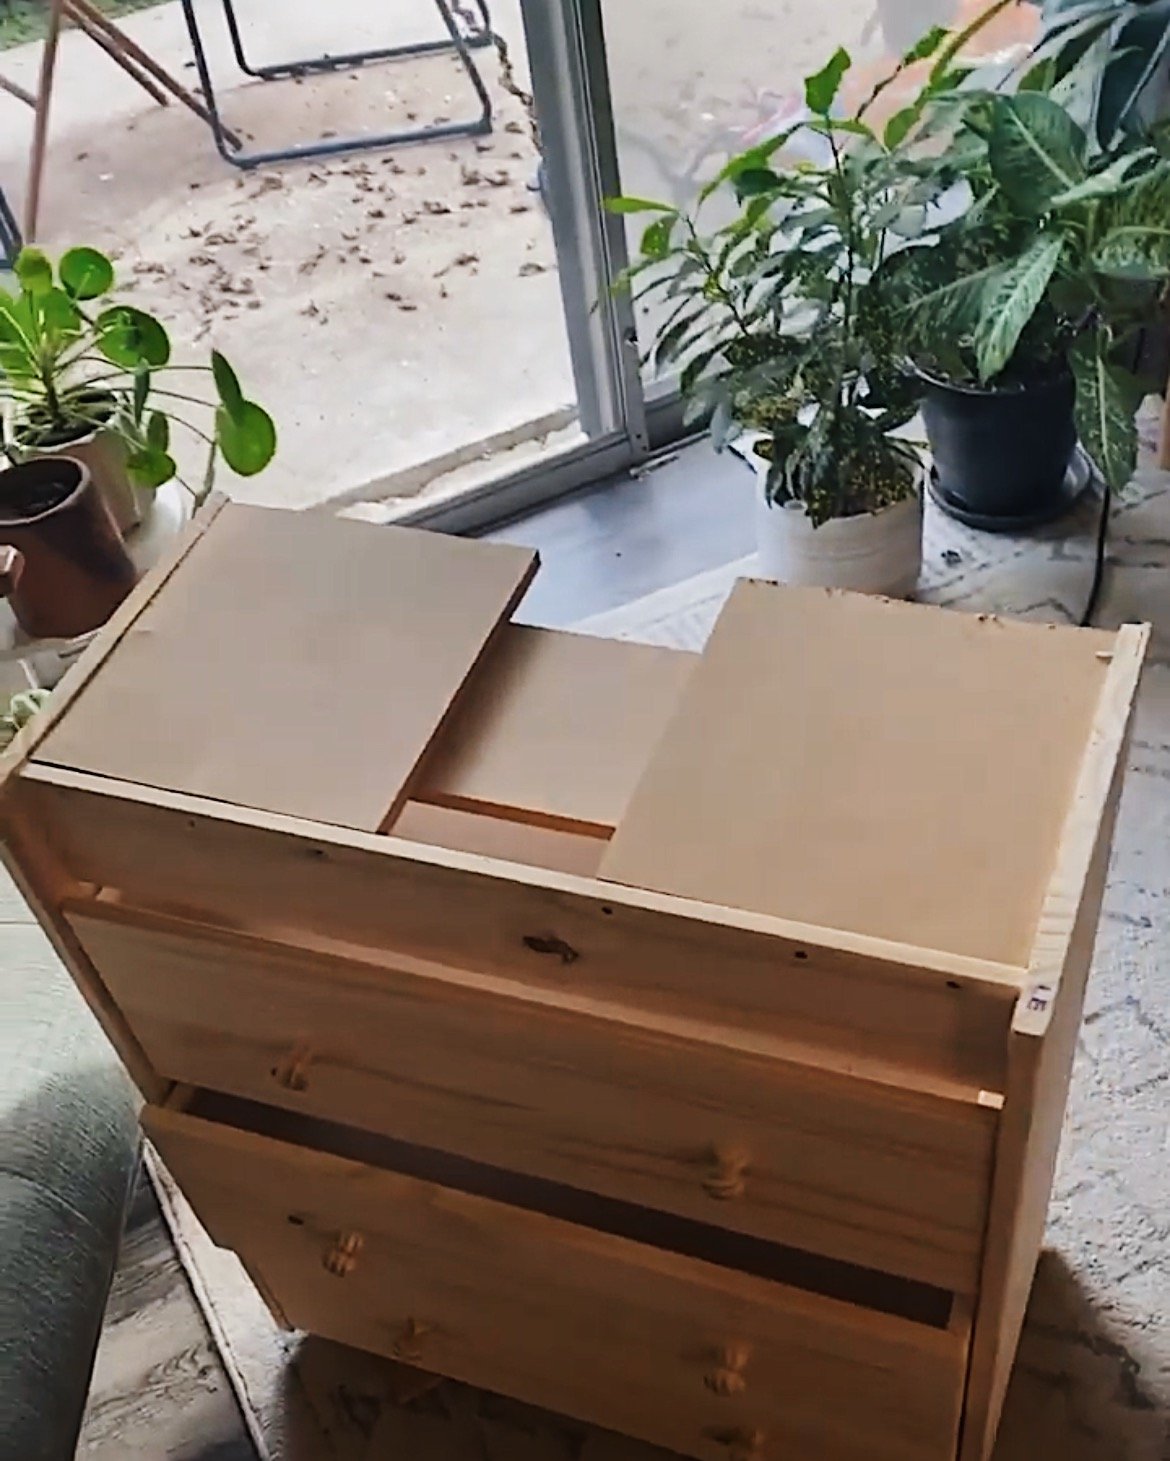
First step in all of this was to take out the old drawers and remove the old hardware. I used my electric screwdriver to do this. I decided that I wanted to add mid-century modern legs to the bottom of my chest to give it a more elevated look. This is totally up to you, but if you do this, you’ll need to build a new base for the legs to attach to. I used some leftover MDF board I had from a previous project to create a new base, cutting it into 2 ft pieces and attaching it using a hammer and nails. I have a video of how exactly I did this here or by going to my Instagram highlights.
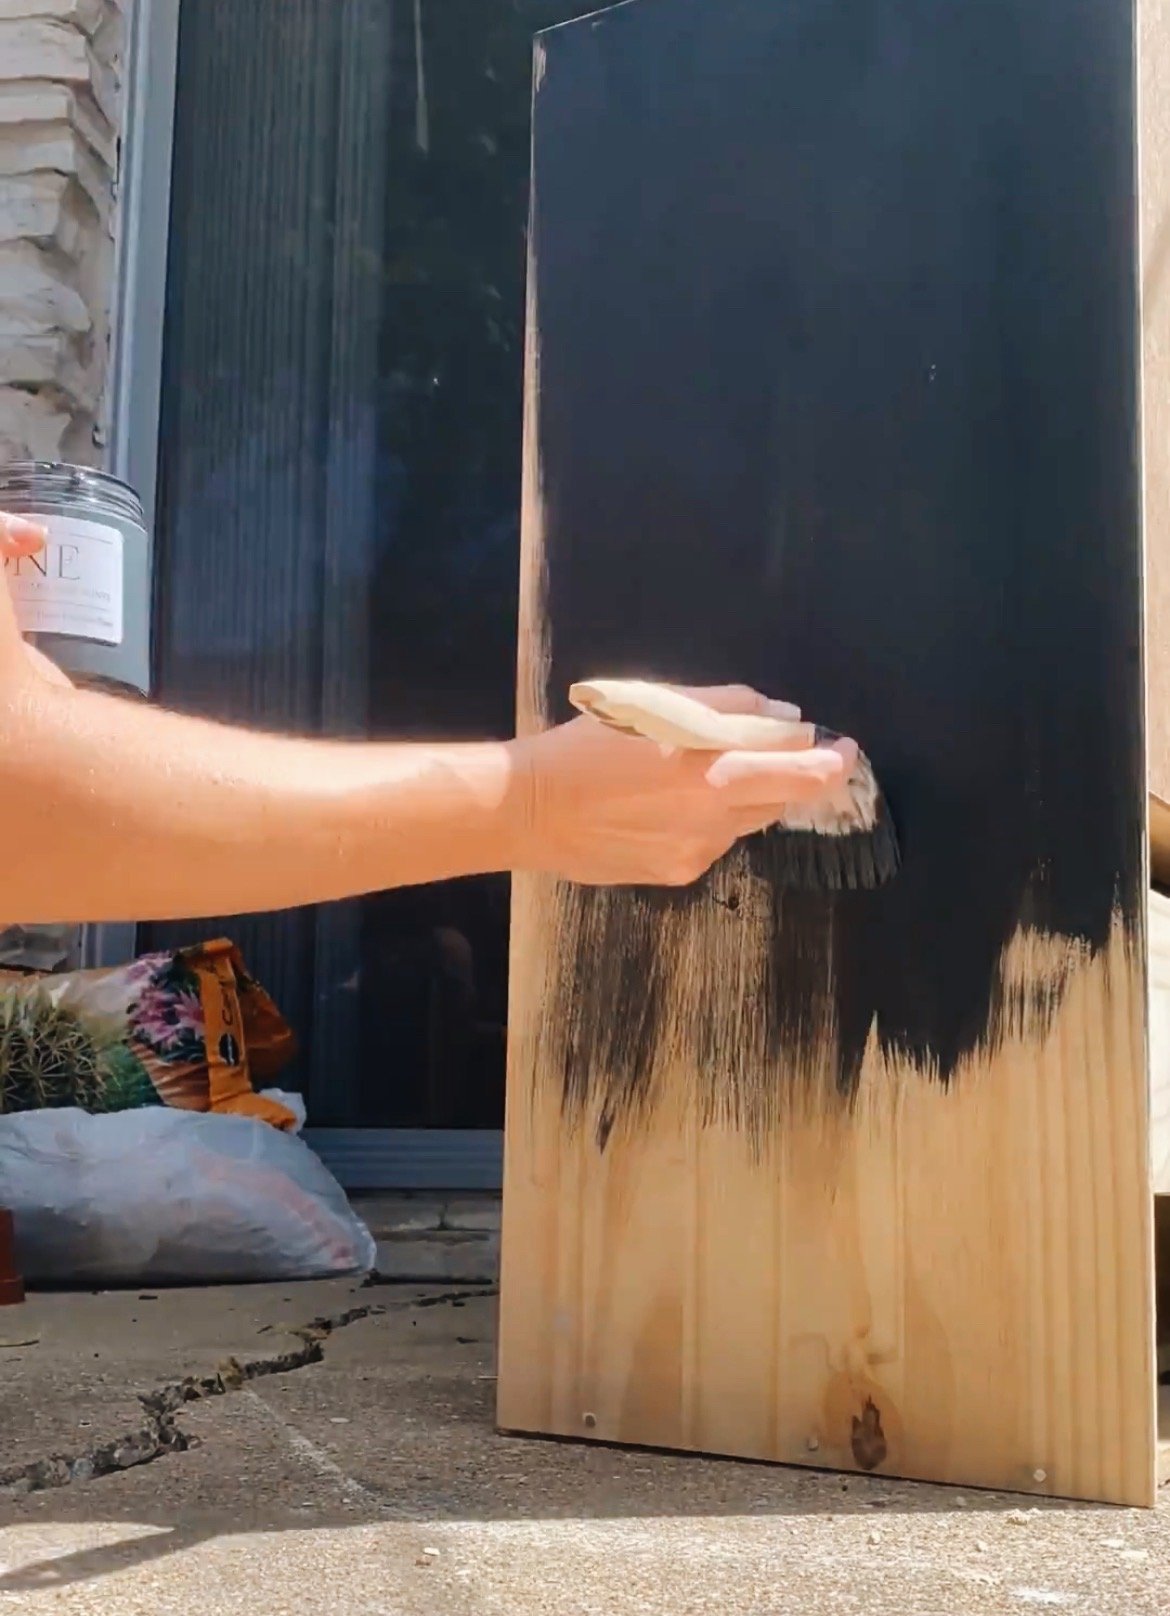
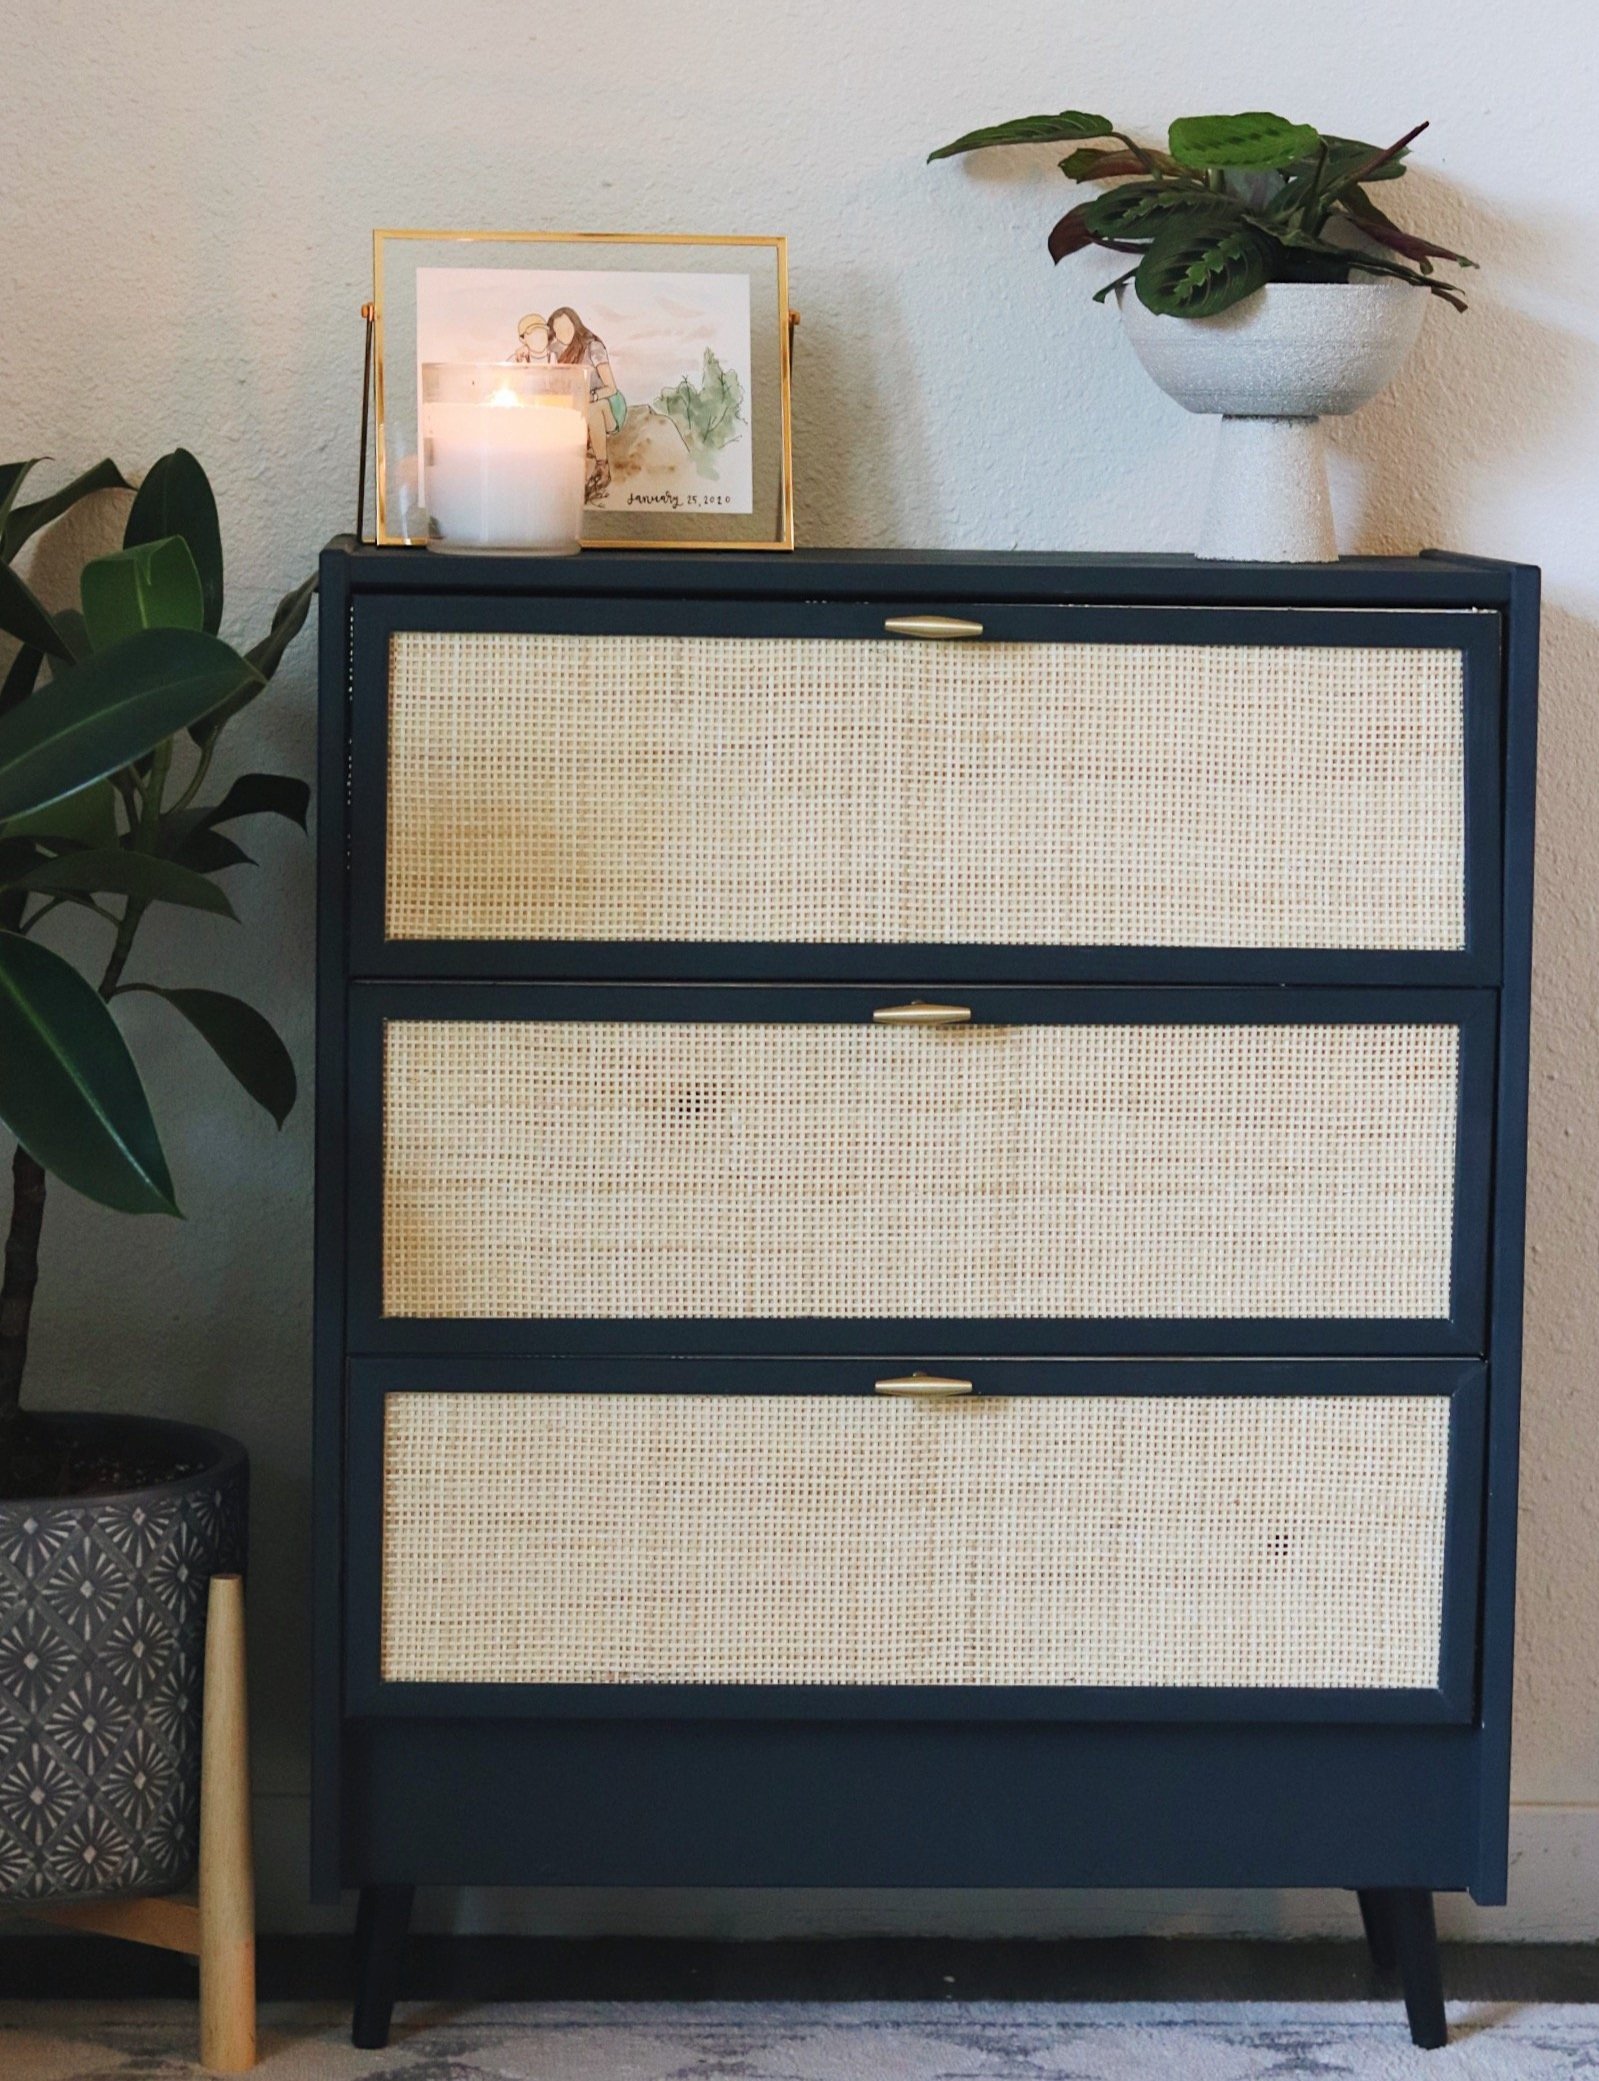
Once my base was built, I got started on painting. I did a quick scuff sand using my electric sander and a 120 grit sandpaper. I painted the entire base of the chest (leaving the drawers natural pine) and the 16 feet of ¼ trim black. I used the paint color Basilisk by Melange Paints from their ONE line. It is a primer-paint-top coat all in one! I normally don’t like paints that claim to be all in one, but I was very impressed with this one. I will definitely be using it again.
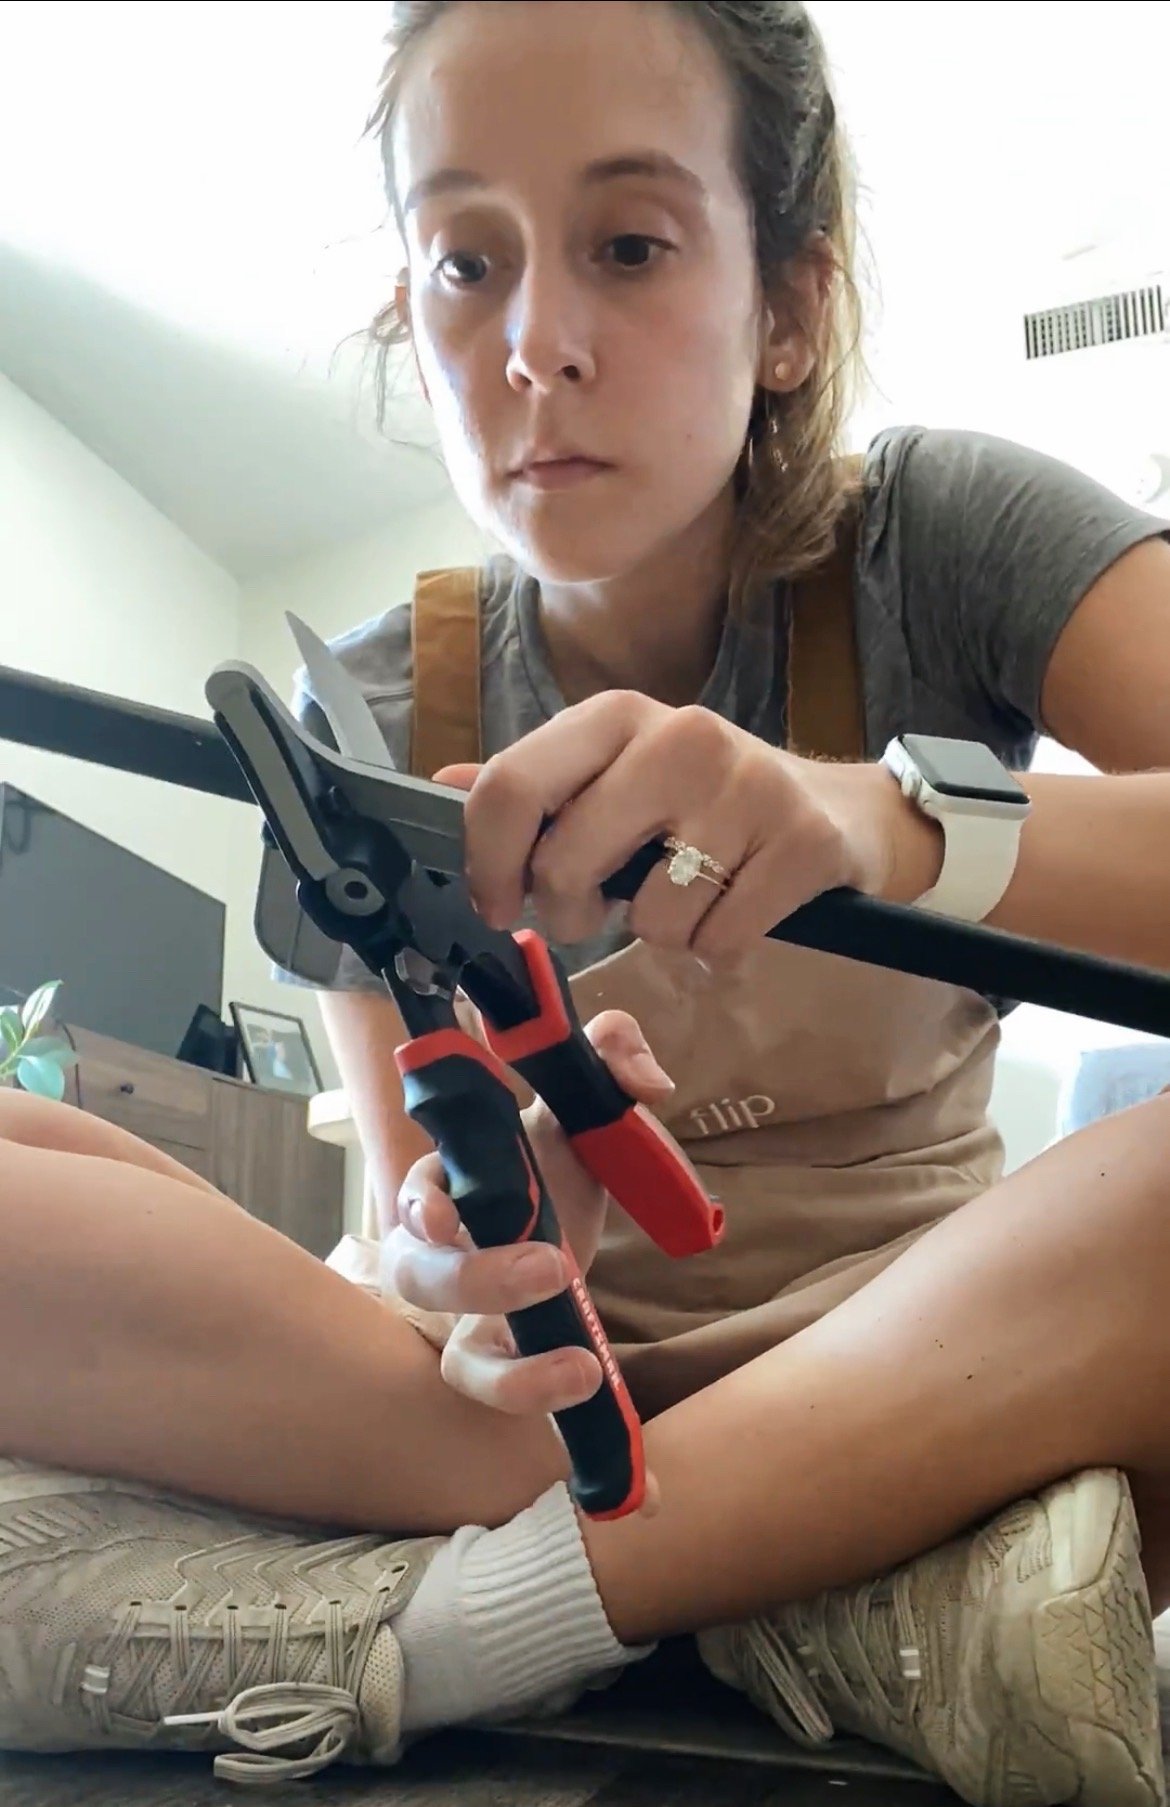
Once the paint was dry, I cut the ¼ pine trim to fit around each of the drawers. I just did a rough measurement by holding the trim up to the drawer and making a small mark of where to cut (we are super professional over here!). To cut the trim, I used multi-angle shears. These things were awesome and made cutting the trim so fast. I cut each end at a 45-degree angle so they would fit around the drawers like a picture frame.

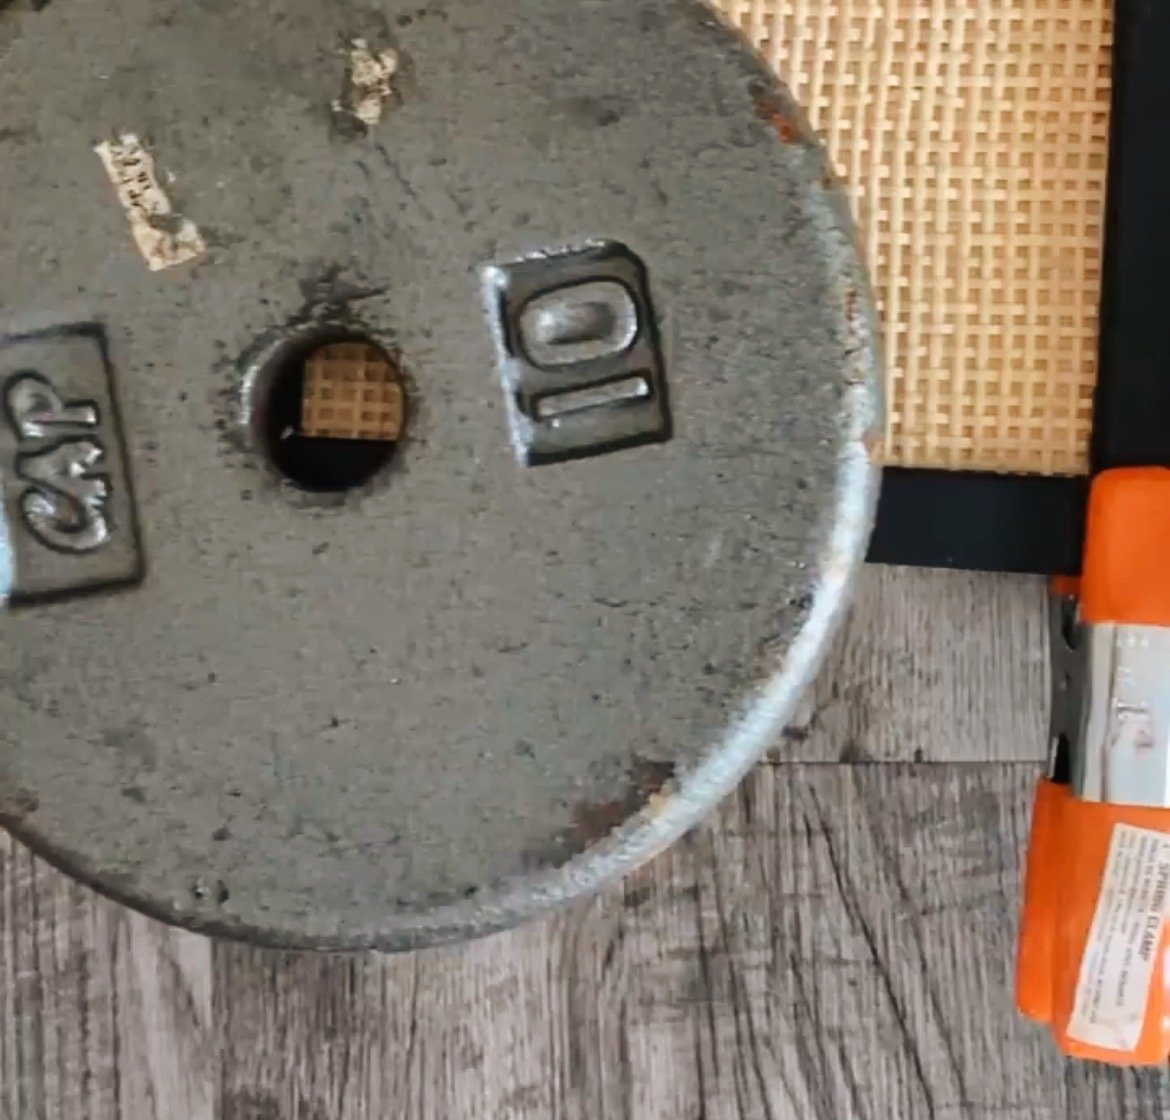
Once all my trim was cut, I was ready to start working with my cane. Before working with cane you will want to soak it in warm water for about 20 minutes. This allows the cane to be more malleable and it will tighten to the piece you are applying it to as it dries. I just put mine in the bathtub to do this. Once the cane was done soaking, I cut it down to fit on each of the drawer fronts. I attached it to the drawers using a staple gun, starting on one side and pulling it taut as I worked around. I added a staple in each corner and about every inch around the entire side. I then added the wood trim around the sides of the drawers and on top of the cane using wood glue. They should fit together like a frame. I used clamps to hold the trim in place while it dried, but you can also use heavy books or weights if you do not have clamps. I let the trim dry overnight before doing anything else.

The next morning, I drilled new holes into the top of each drawer to add new hardware. I chose to drill through the trim instead of the cane because I was nervous about the cane splitting. I went slow to not cause the trim to split either. I chose to add a simple gold knob.

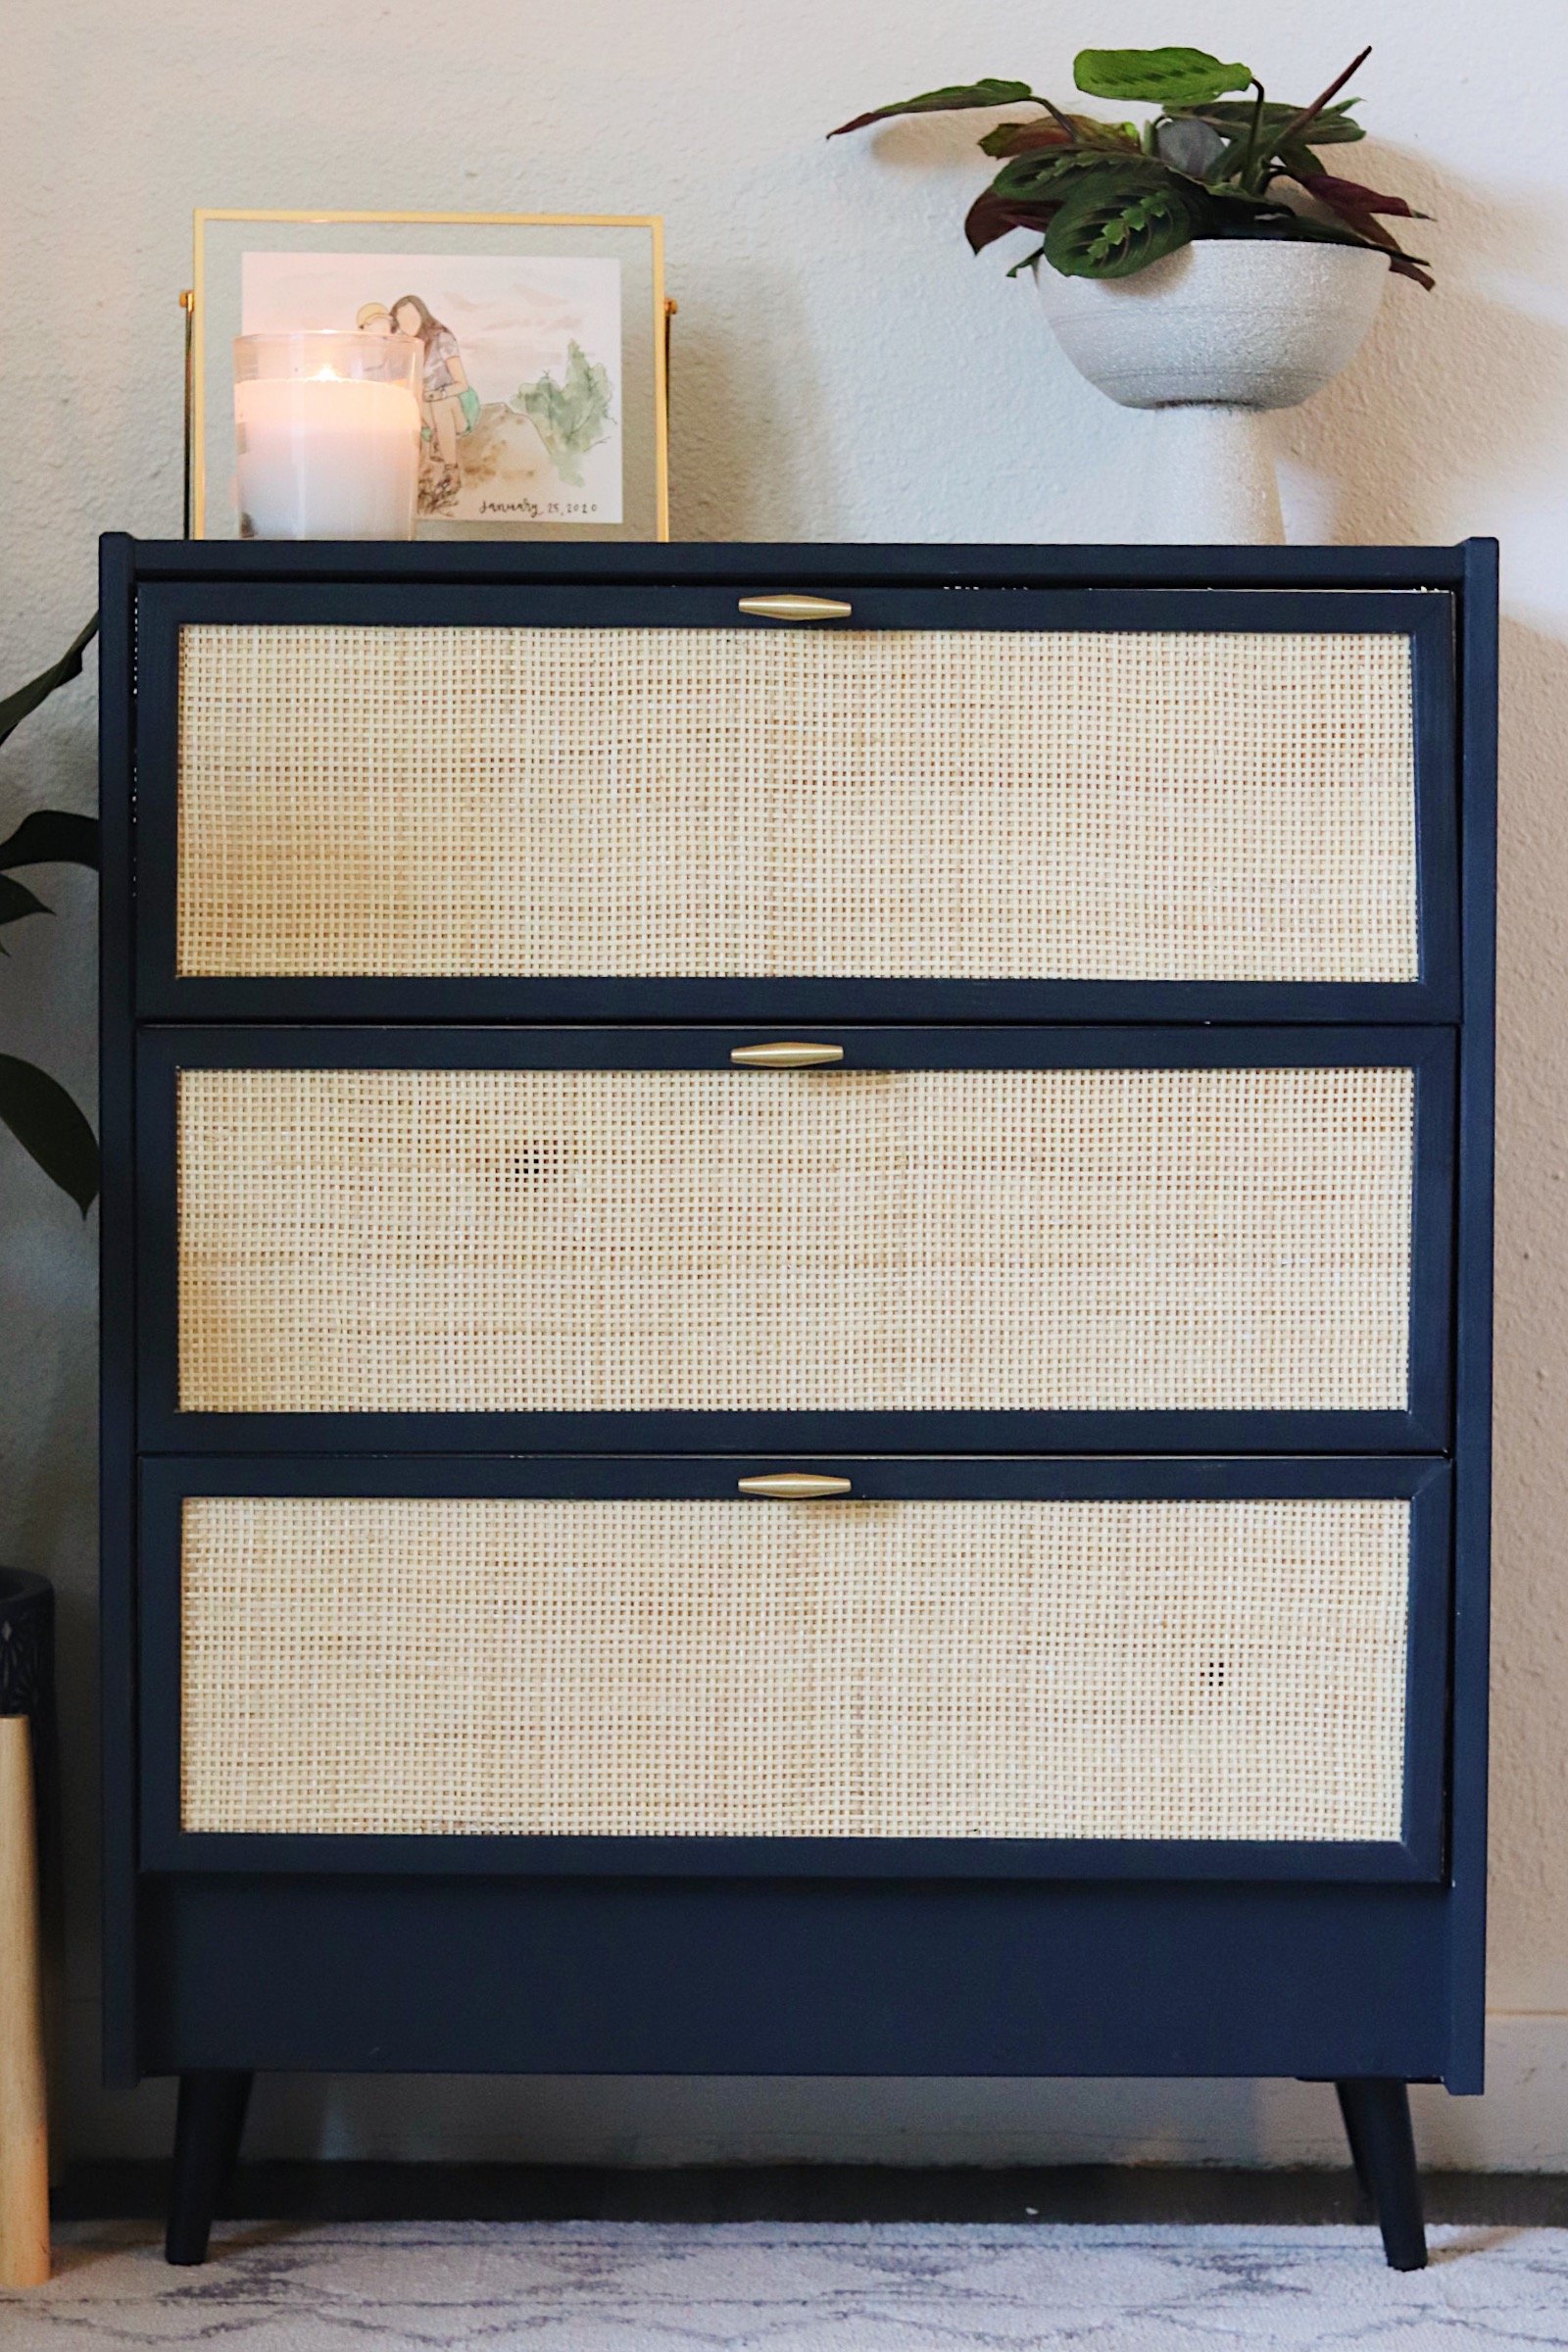
The final step was adding new legs! Again, this part is totally optional, not necessary, but I thought it really finished the look. I bought my mid-century modern styled legs from Amazon. They were very easy to install using 4 screws that came with the legs and an electric screwdriver.
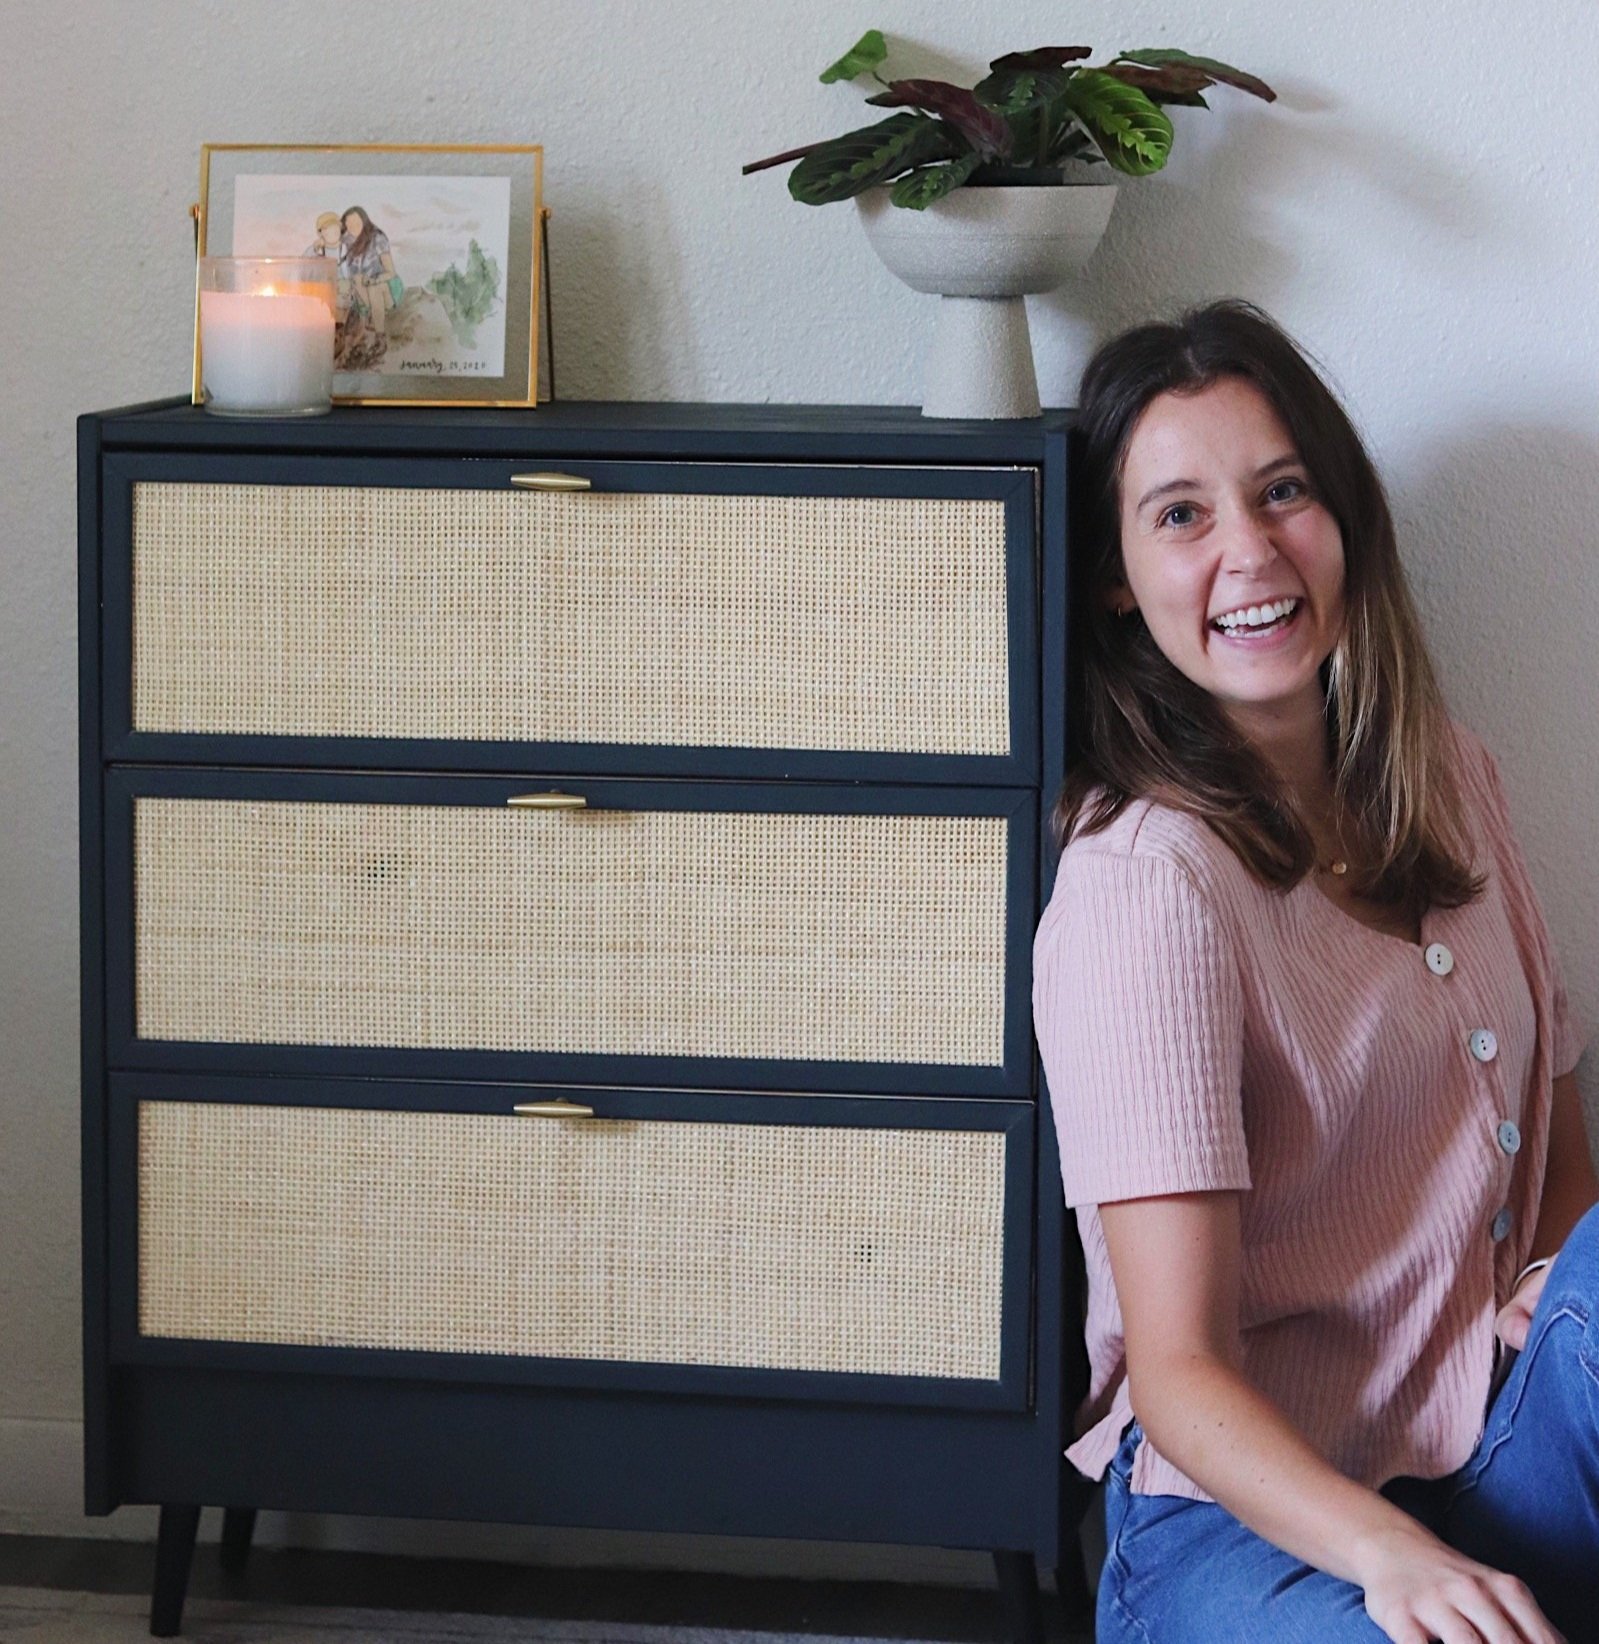
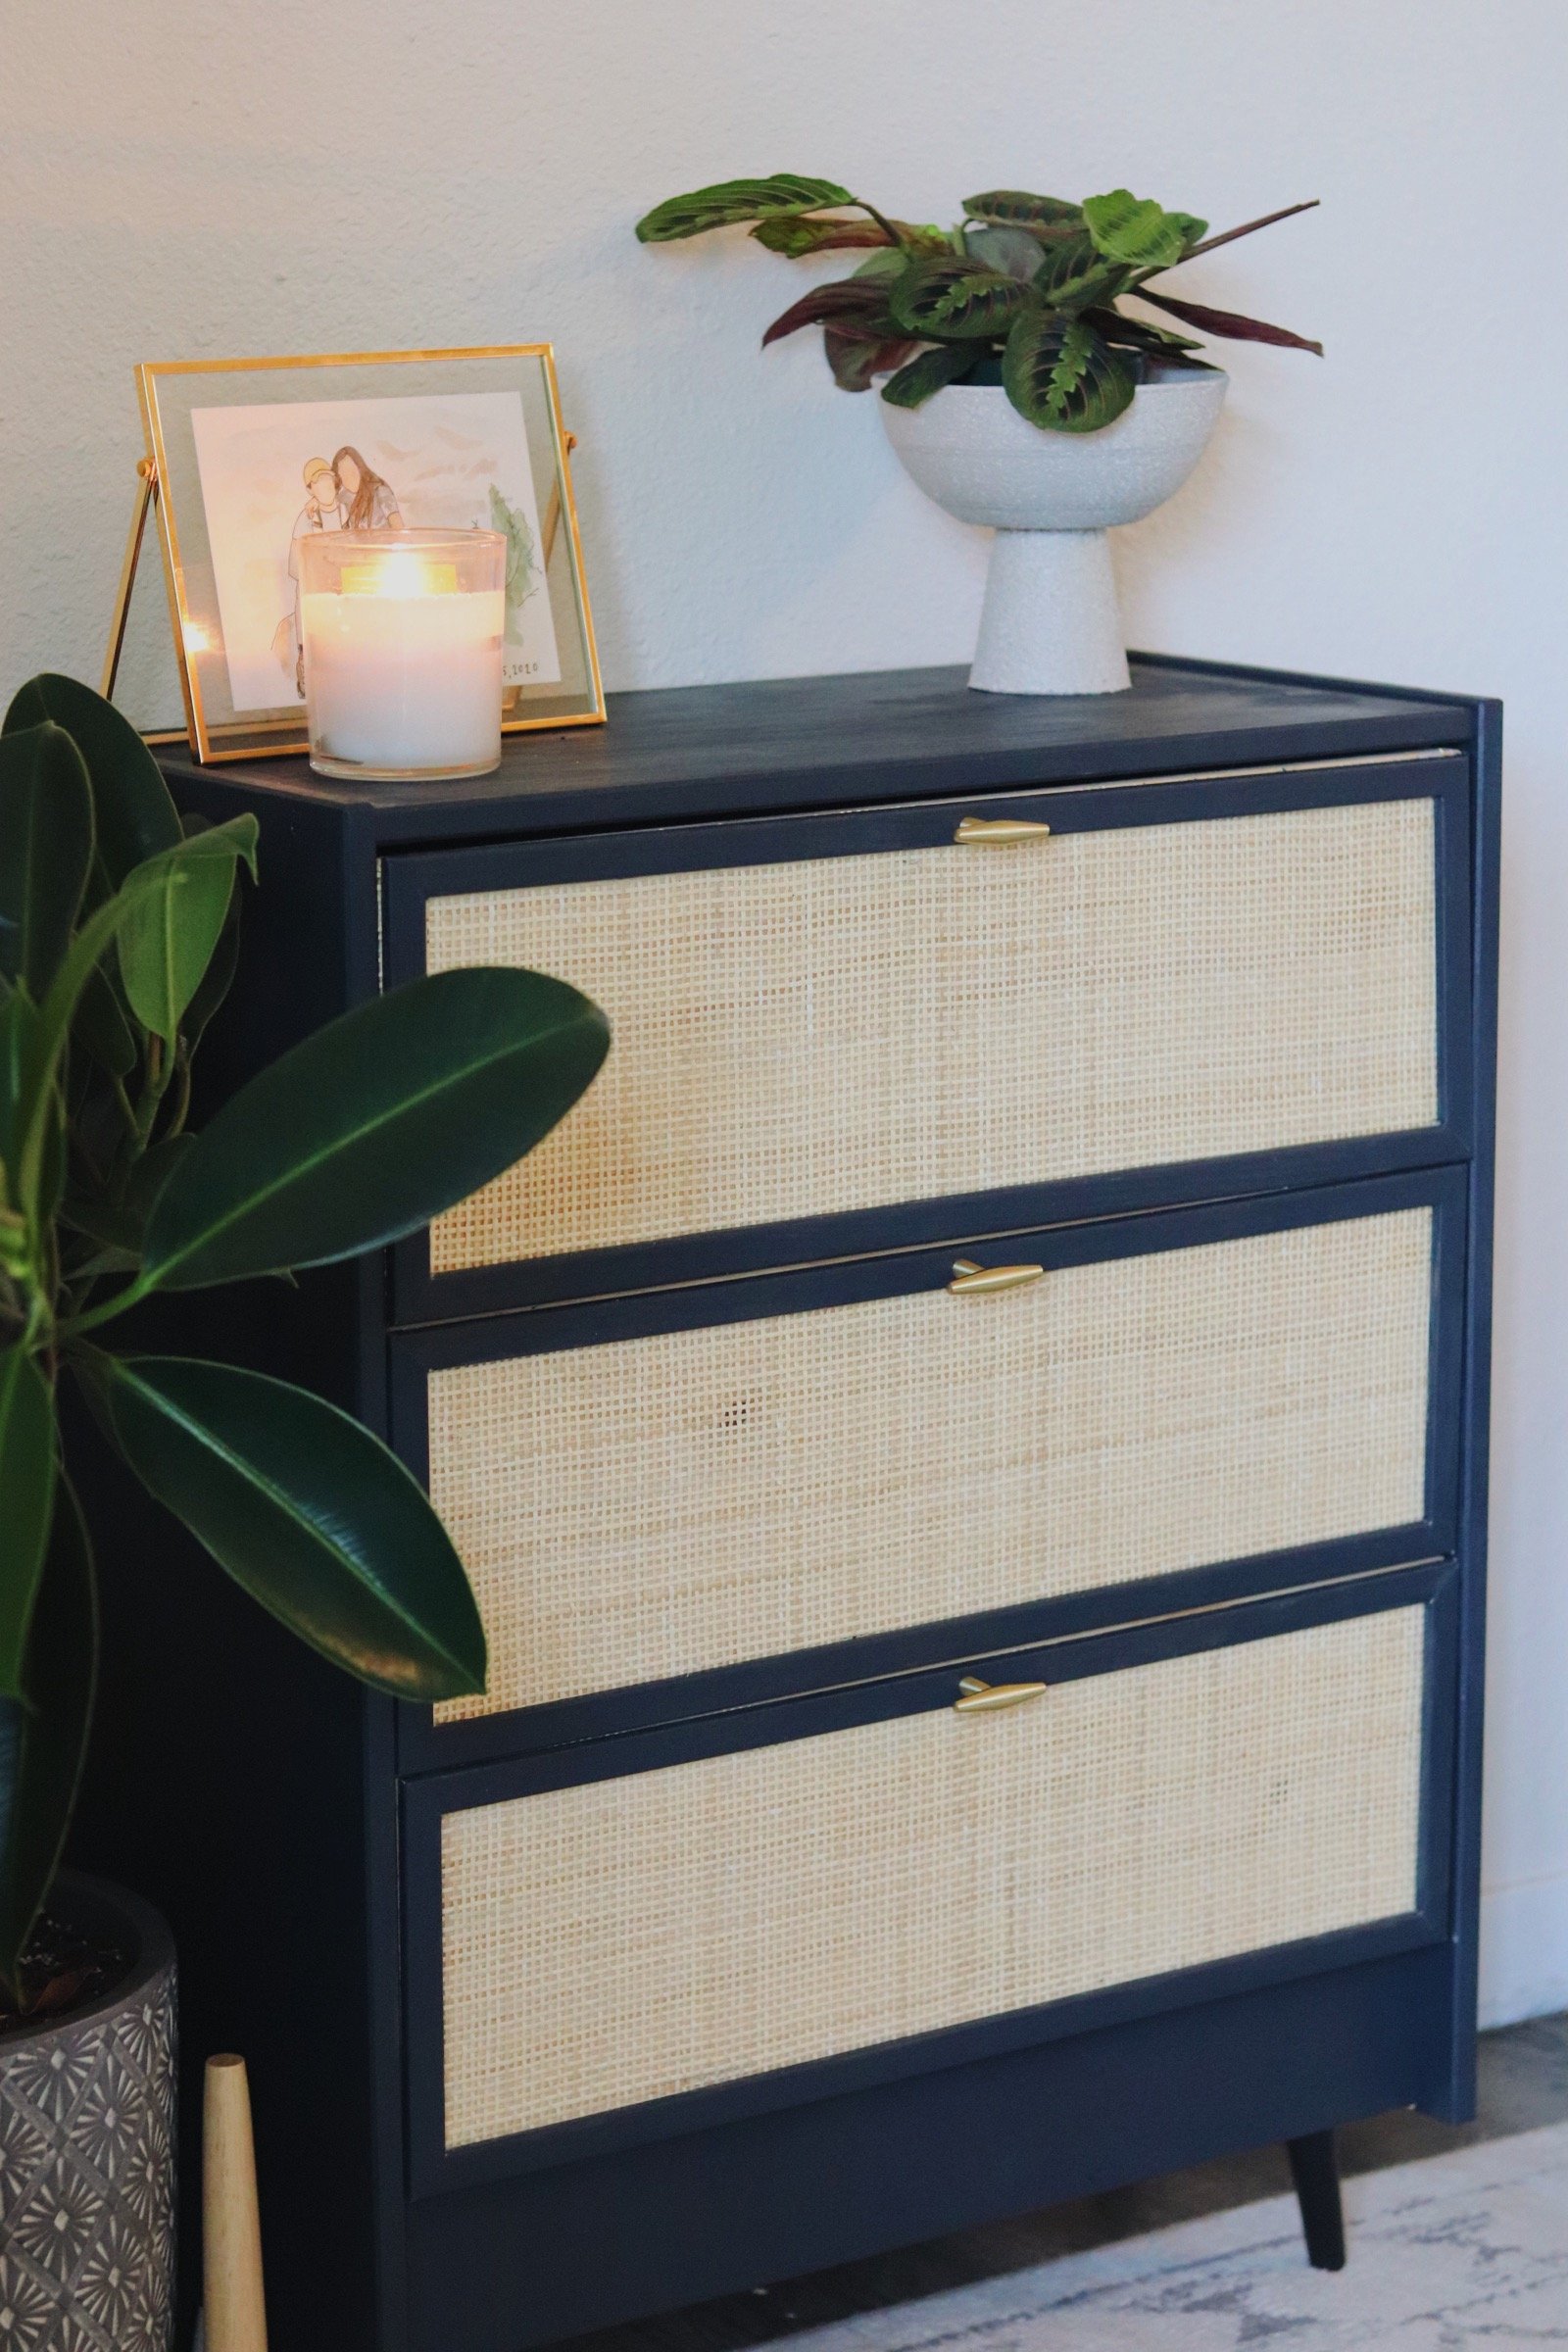
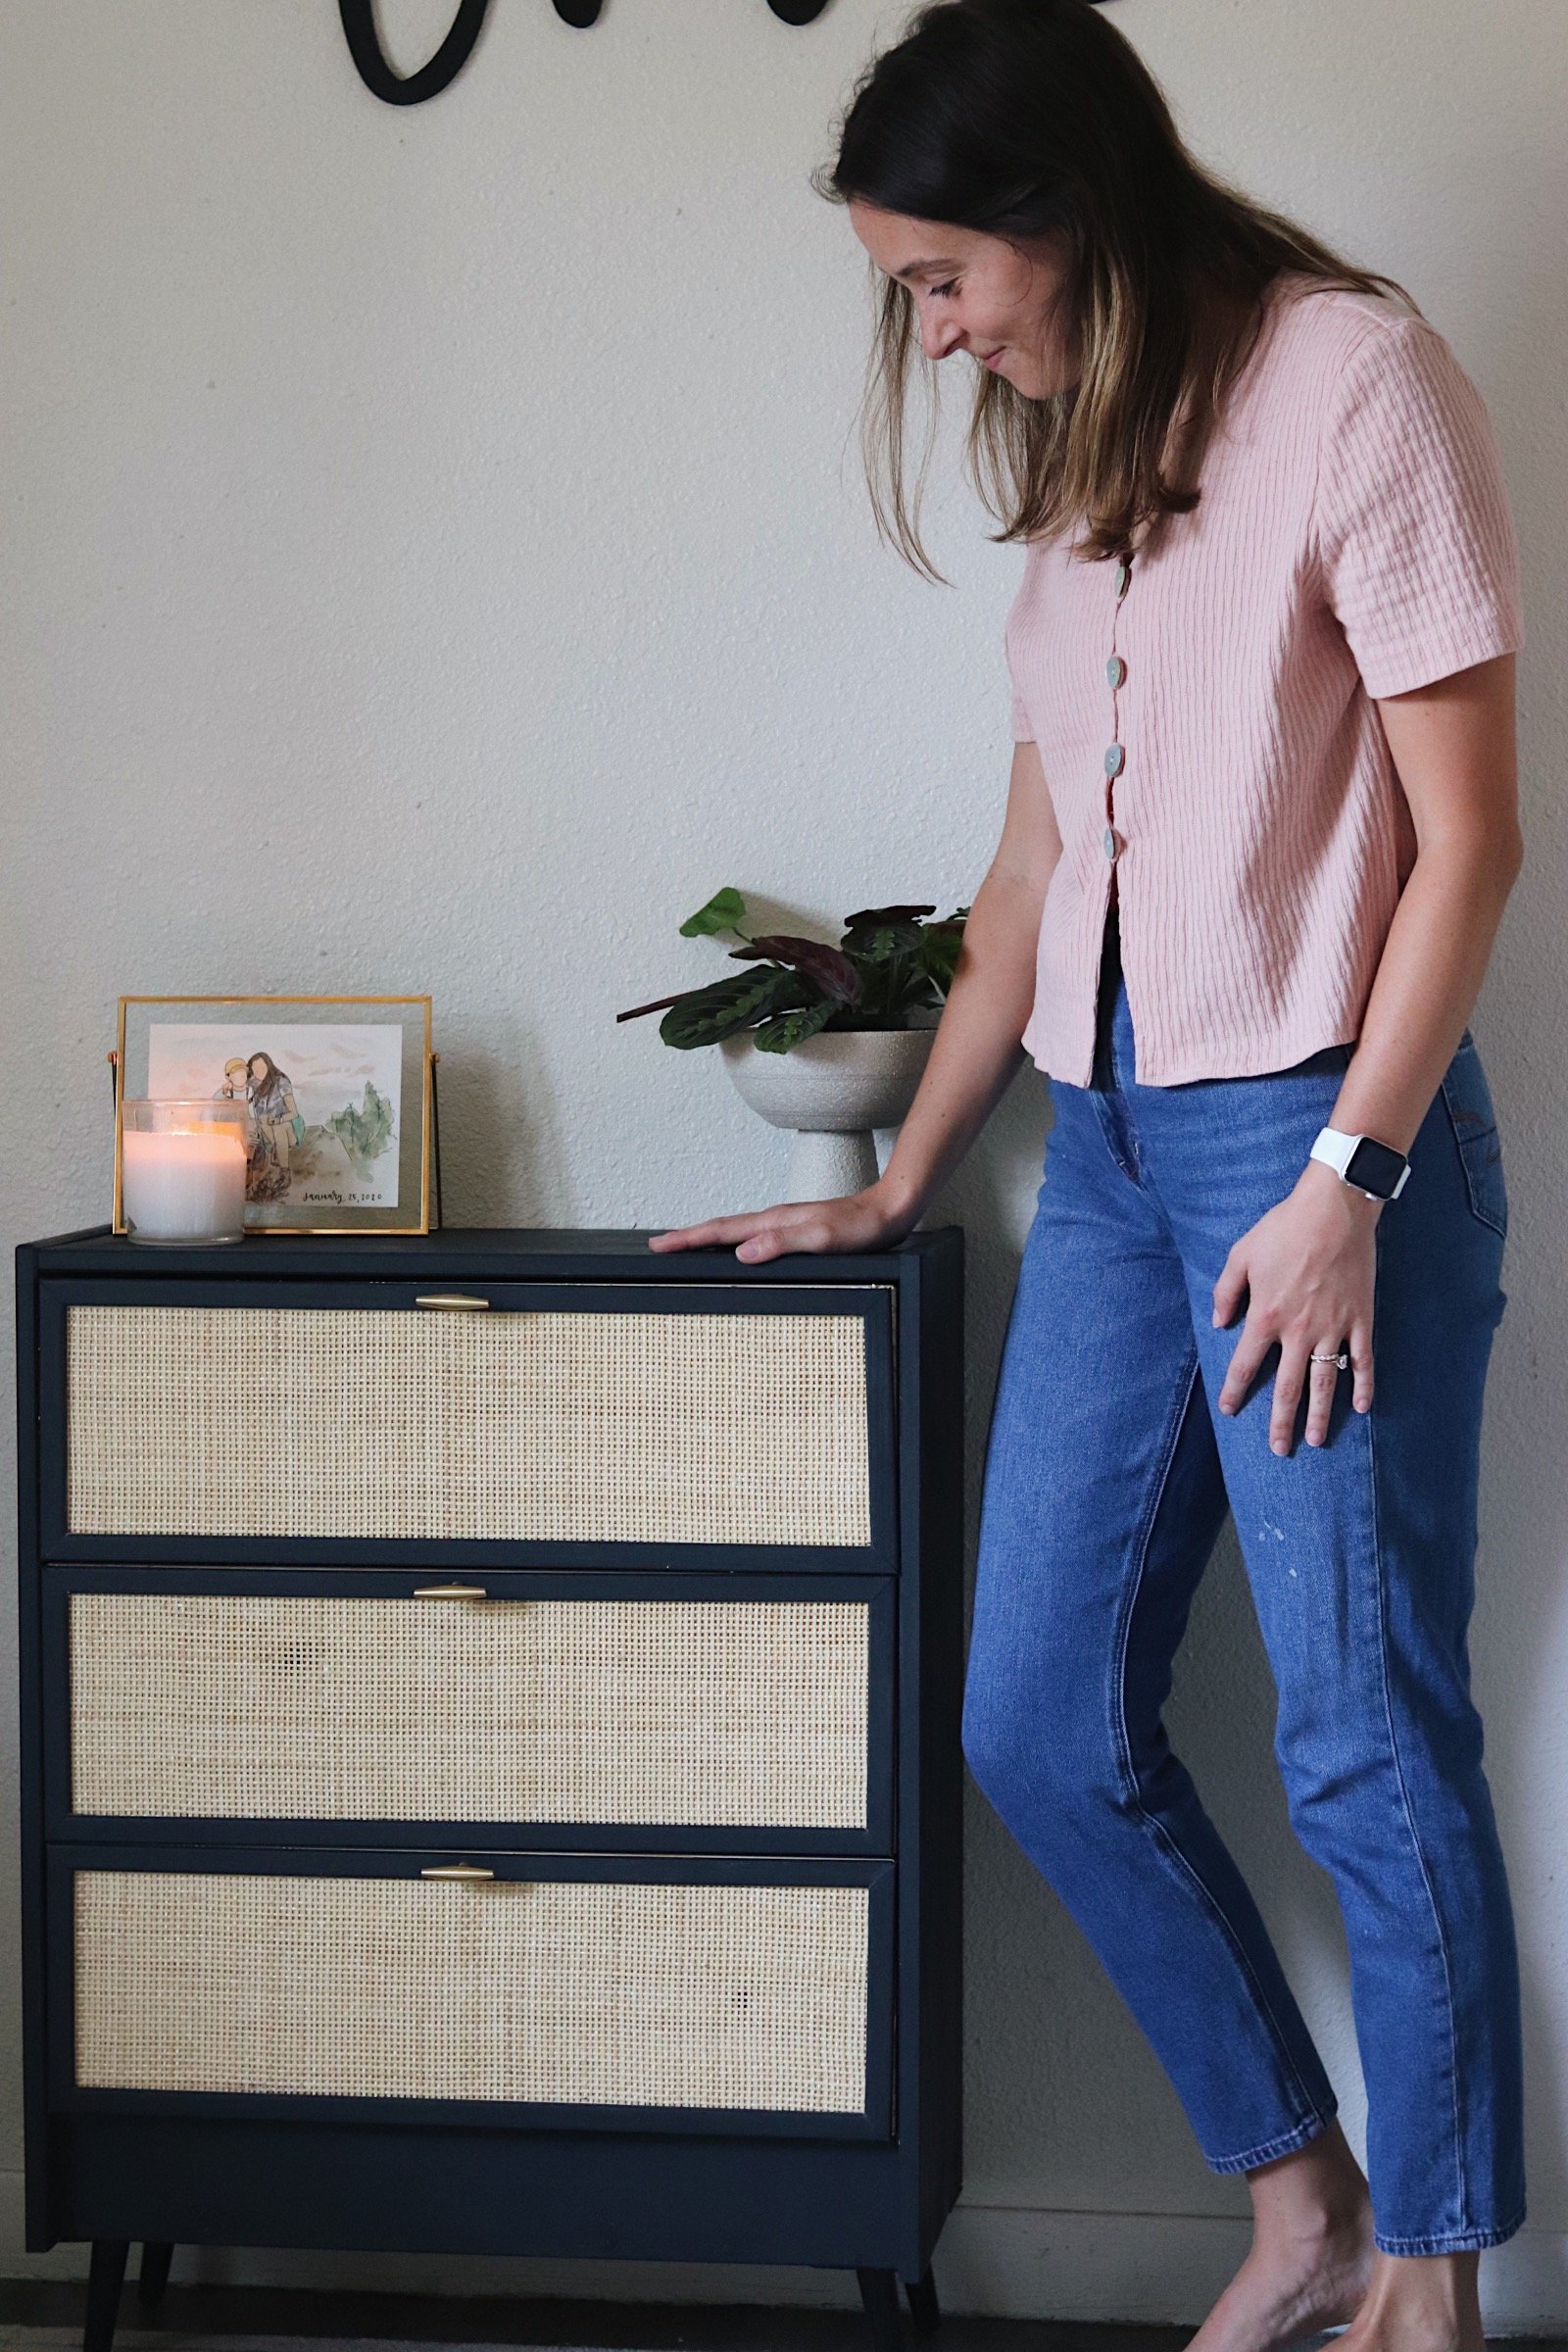
And that’s it!! It honestly was a very easy project and so much fun to create. It’s hard to believe that this started out as a $40 Ikea chest! You can see the full step-by-step real-time tutorial here or watch some fun videos of this project on my Instagram!